
Meet Our Pros


Course Tour
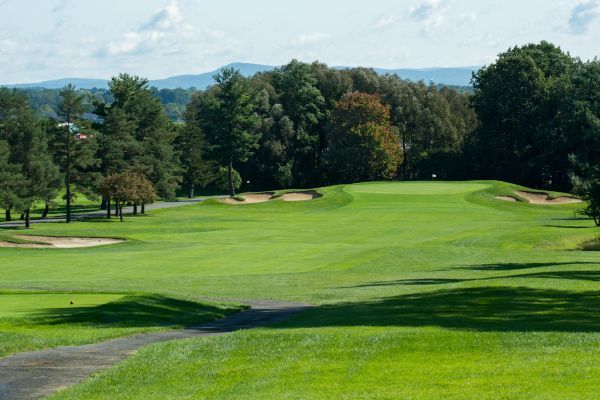
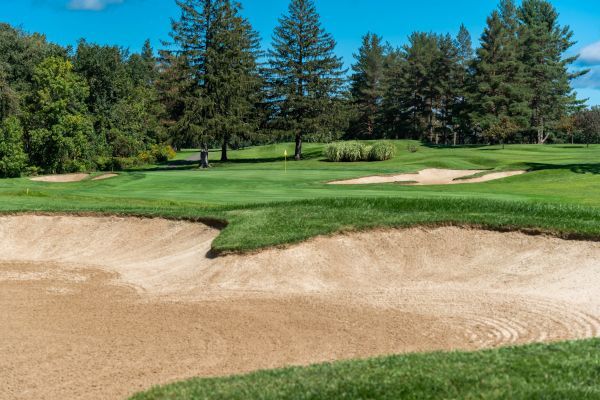
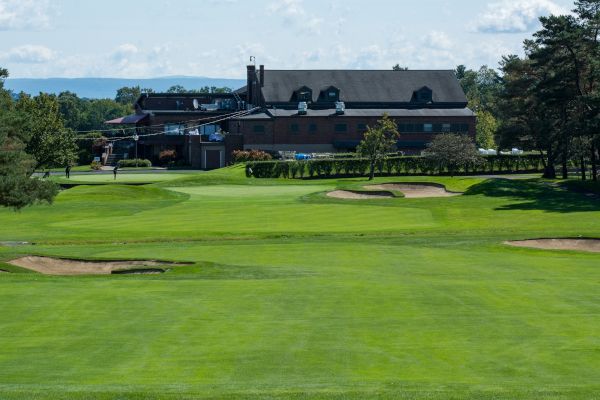
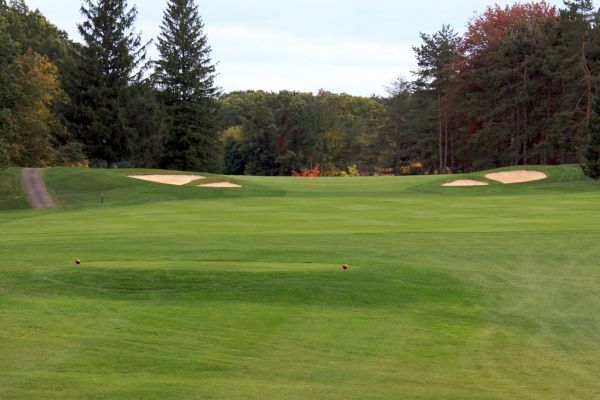
Hole #1
Par 4
Handicap: 5M | 5W
Black: 428 • Blue: 401 • White: 379 • Green: 322 • Red: 322
A tough mid length par 4 where the fairway narrows in the landing area, with a fairway bunker left and pond to the right. The approach is to a small elevated green surrounded by green side bunkers.
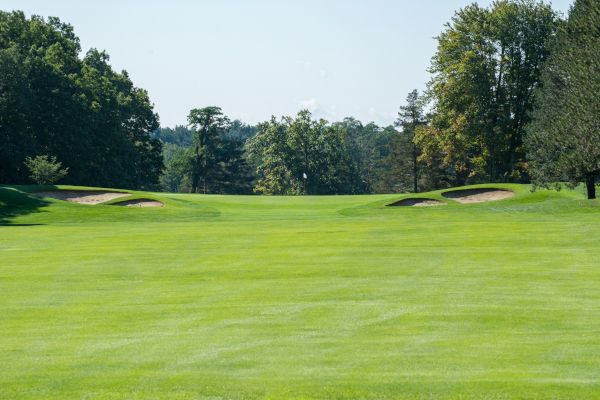
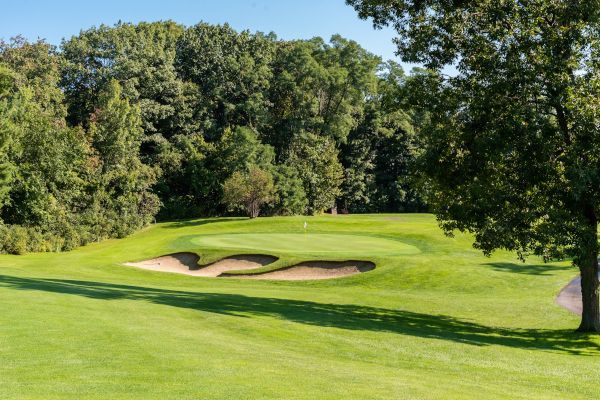
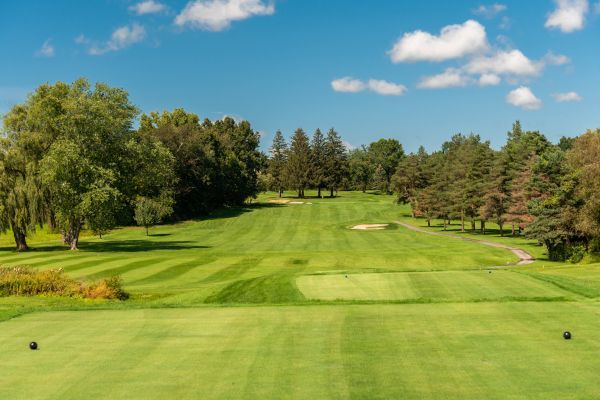
Hole #2
Par 4
Handicap: 9M | 11W
Black: 366 • Blue: 357 • White: 340 • Green: 340 • Red: 273
A short uphill straight away par 4 with out of bounds running the whole left side of the hole. An iron shot into the green that you do not want to go long on as it leaves a fast down hill chip.
Hole #3
Par 4
Handicap: 1M | 3W
Black: 435 • Blue: 405 • White: 377 • Green: 315 • Red: 315
With strong prevailing northwest winds, and natural hazards flanking the fairway makes this one of the toughest holes on the course. A two tier elevated green makes a score of 5 a good number on this par 4.
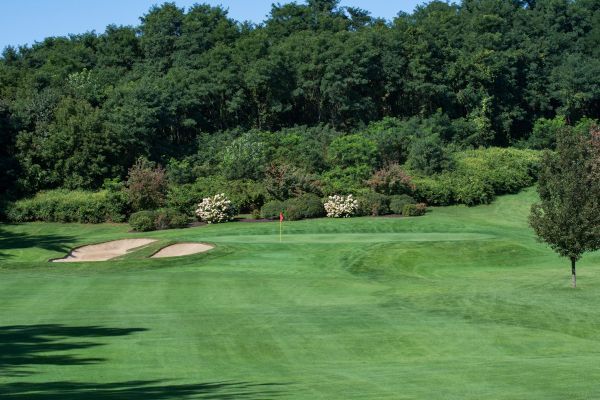
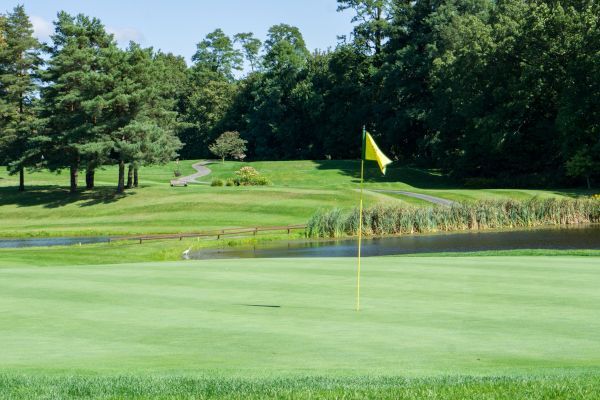
Hole #4
Par 3
Handicap: 17M | 17W
Black: 143 • Blue: 122 • White: 122 • Green: 111 • Red: 96
A short par 3 surrounded by 4 bunkers and stream that runs in front of the green.The green slopes fairly well from back to front.
Hole #5
Par 5
Handicap: 7M | 7W
Black: 570 • Blue: 545 • White: 468 • Green: 462 • Red: 462
The longest hole at Shaker Ridge, this par 5 can stretch out to as long as 570 yards and has a lateral hazard ditch running down both rough lines the entire hole, crossing in front of the green just before the approach.
Hole #6
Par 4
Handicap: 11M | 9W
Black: 405 • Blue: 362 • White: 358 • Green: 338 • Red: 289
A dog leg right short par 4, with out of bounds left the entire length of hole and one big greenside bunker in front of the green.
Hole #7
Par 4
Handicap: 3M | 1W
Black: 420 • Blue: 410 • White: 372 • Green: 356 • Red: 356
A dog leg left par 4 with 4 maple trees at the corner that can be cleared with a high tee shot. The green is flanked by bunkers front left and right with a false front that requires a shot to be flown to green as opposed to running it up.
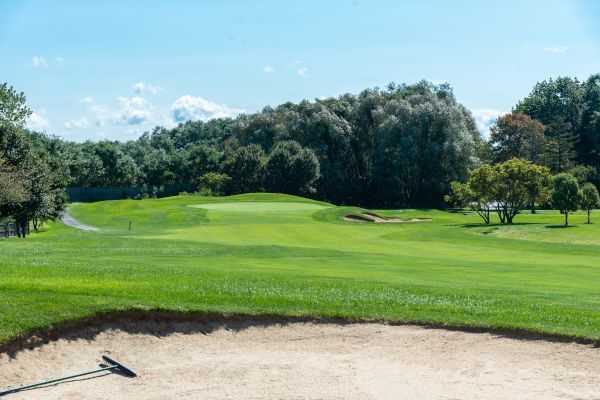
Hole #8
Par 4
Handicap: 13M | 13W
Black: 423 • Blue: 375 • White: 360 • Green: 345 • Red: 338
A straight away par 4 that has a lateral hazard that runs the length of the right side of the hole. This is the biggest green on the course and is surrounded with a bunker front right and bunker back left of the green.
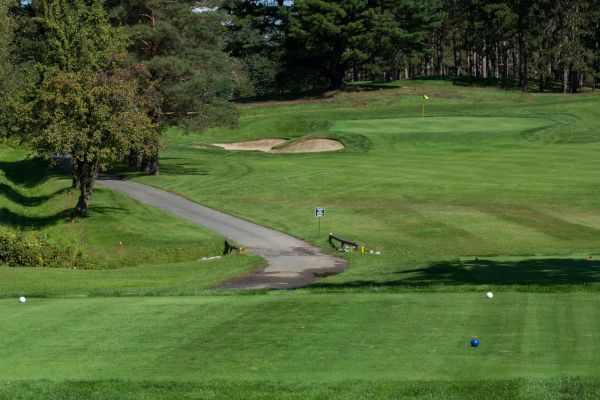
Hole #9
Par 4
Handicap: 15M | 15W
Black: 340 • Blue: 325 • White: 310 • Green: 310 • Red: 295
A short par 4 with a stream insterecting the fairway 75 yards from the green. Off the tee the golfer has the option of clearing the stream or laying up. The fairway narrows with bunkers on either side.
Hole #10
Par 4
Handicap: 6M | 10W
Black: 405 • Blue: 371 • White: 326 • Green: 292 • Red: 292
An average length par 4 that narrows to about 10 yards wide in the landing area with a fairway bunker on the right side 150 yards from the green. The second shot in to this green is an uphill shot with the green sloping from back to front.
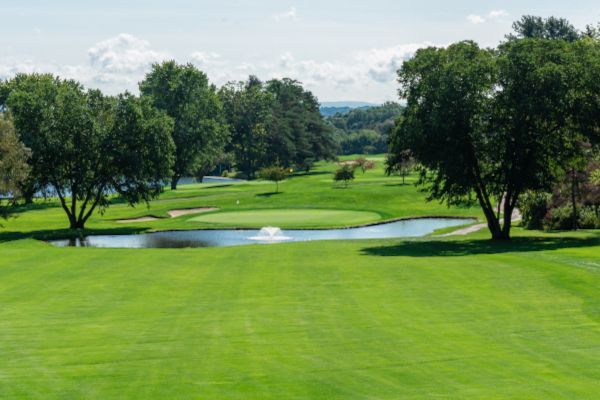
Hole #11
Par 4
Handicap: 8M | 8W
Black: 382 • Blue: 322 • White: 312 • Green: 293 • Red: 265
A short par 4 with the fairway ending 70 yards from the green. A pond lies between the end of the fairway and the green and stretches around half of the green.
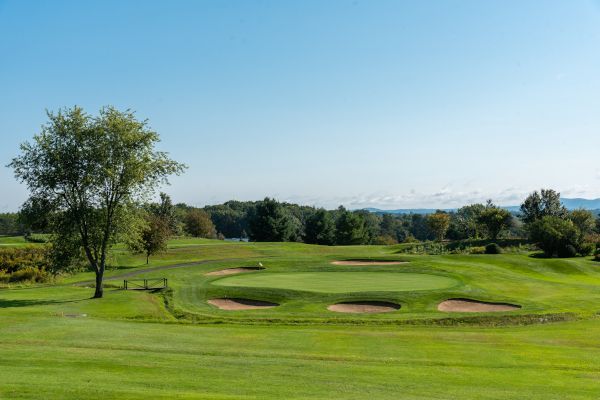
Hole #12
Par 3
Handicap: 12M | 16W
Black: 225 • Blue: 202 • White: 174 • Green: 133 • Red: 133
A long par 3 that can stretch to 225 yards complete with a narrow two tiered green.

Hole #13
Par 5
Handicap: 16M | 2W
Black: 513 • Blue: 475 • White: 440 • Green: 395 • Red: 395
A short par 5 that plays longer as the second half of the hole is severely uphill. There are 4 fairway bunkers that are crucial to avoid and the approach shot to the green plays a lot longer with the change in grade. The green is sloped from back to front.

Hole #14
Par 4
Handicap: 18M | 18W
Black: 326 • Blue: 313 • White: 307 • Green: 288 • Red: 283
A risk reward par 4 at only 320 yards down hill from the back tees many golfers can come close to driving the green. This hole is flanked by a lateral hazard on the right and out of bounds on the left.
Hole #15
Par 4
Handicap: 4M | 4W
Black: 408 • Blue: 388 • White: 355 • Green: 355 • Red: 320
A straight away par 4 with out of bounds running the entire left side. The green slopes severely from back to front and has two greenside bunkers.
Hole #16
Par 3
Handicap: 14M | 14W
Black: 191 • Blue: 170 • White: 145 • Green: 145 • Red: 120
A picturesque par 3 with two ponds. The green has a false front in the front quarter and has a bunker on both the front left and right of green.
Hole #17
Par 4/5
Handicap: 2M | 12W
Black: 462 • Blue: 432 • White: 394 • Green: 394 • Red: 403
The longest par 4, playing over 460 yards down wind. The fairway slopes left to right with a bunker along the left side. Trouble lies with a bunker short right of green and a lateral hazard running the right side from 200 yards out to the green.
Hole #18
Par 4
Handicap: 10M | 6W
Black: 395 • Blue: 350 • White: 340 • Green: 340 • Red: 316
Known as the longest 390 yard hole in the area. Usually into a stiff prevailing wind which makes the fairway bunker on left tough to clear. The approach is into an elevated two tier green that is narrow and tough to hit.